Wednesday, 4 July 2018

Amy- July 2018 Kit- ' Love You Always'

Hey Scrapping Fun Peeps,
                                         Happy beginning of July! I am up today with my 1st project for the month using this very cool embellishment kit and I couldn't resist but use it to scrap a photo of my niece dressed in a Harry Potter inspired onesie that says " Snuggle this Muggle".
 I knew I wanted to use a bit of mixed media and the colours yellow and black as that's what came to mind with this magic theme, so I went through my stash of papers to see what jumped at me. I settled on this black paper as being the background paper and decided I would test out some watercolour paper to do some mixed media on.
I used some shimmer spray to colour the paper yellow, once dried I stuck it to the black patterned paper.


I placed a doily behind my photo to add some texture and softness to the page and matted the photo onto a piece of the patterned paper from the kit. I popped it up on some craft foam for a bit of dimension.

I had to use the gorgeous gold foil train washi and decided to place this opposite the photo and then build a little cluster around it using the cat cut apart from the cut apart sheet from the kit plus the gorgeous silver charm in the kit. I then decided to add the tassel in the opposite top right corner just to add a little balance to the cluster in the bottom left.
I wanted to test out the other washis that came in the kit too and did by adding some little strips in the top left and using those to build my title around. I used white foam thickers from my stash for the Love You and then used the beautiful wood veneer in the kit to finish of the title.
To finish off the page I added some enamel dots then for some magical sparkle added some splatter of gold Heidi Swapp colour shine.


I absolutely adore this layout and the elements in this kit just made it look so beautiful and cute , perfect for my nieces album.
I hope you enjoy your July kits and see you soon with another project.
I also have a process video for this over on my YouTube channel so pop over and check it out
 https://youtu.be/HOsOygbilBA
Happy scrappin
Ames xx

Tuesday, 3 July 2018

Lauren - July 2018 Kit - Unboxing and Junk Journal LIVE


Hey Everyone and welcome to July,

Can you really believe that we are halfway through this year - super crazy how fast it has gone!!

Anyways this month really inspired me, and even before I opened my kit I knew I wanted to make a mini album that will record our trip to Universal Studios in Japan - well the Wizarding World portion of the theme park :)

I thought for a while about what type of mini album I would use or make, and remembered that I also had the wizard world paper and ephemera (made by Colorplay) and knew that I could make a travelers notebook.

As I was trying to find my wizard world paper in my stash I came across other things that would be nice to include, like paper bag, vellum etc and had the idea to make my TN like a junk journal. So the size of a normal TN insert but with variety of items and sizes used as pages within the TN.

So to extend the excitement of the release of the kit, I decided to do a Facebook Live stream. This included unboxing the kit (so all of you could see the goodies but also so I knew what else I was working with haha) and then I got stuck into make the junk journal inspired Travelers notebook whilst chatting to the group.

Was a fun way to slow down and explain my process, my thoughts and opinions about products and how to use them, as well as using thoughts and opinions from those who joined me in the live stream.

You can watch the live stream here, as I uploaded to the FB page once I finished so we could refer back to it and for those who couldn't join me could watch at their leisure.

Along with the Scrapping Fun Kits July 2018 Kit and Wizard World from ColorPlay paper and ephemera, I also added gold glittery tulle, HP book paper (from a damaged book), lined paper, white cardstock, paper bag, the plastic bag that the kit was packed in, vellum, two pieces of patterned paper from stash (brick and black pages), some die cuts I created with free cut files from Paper Issues and I believe that was all of it :)


Here are some of the photos of the junk journal inspired travelers notebook, I did start embellishing on some pages and even added the sequin pocket during the live stream. However I will be adding photos and memorabilia from our visit to Wizarding World section of Japan Universal Studios to complete the TN. So look out for that, as I will share the process and flip through over on my channel later in the month.

thanking you,
Lauren.

Monday, 2 July 2018

Winter Moodboard Challenge

Here at Scrapping Fun Kits we are excited to be sharing our Winter Moodboard Challenge with you.  
The Challenge is open to all scrapbooking sizes including traditional 12x12, as well as card making, memory planner, tags, art journaling and of course TN Scrapbooking.  
Entries close 5pm AEST 31st 2018.

Design Team Layouts

To inspire you the design team are sharing photos of their finished layouts created using the Easter Moodboard.
They will share how they created their layouts over the next 6 weeks, so make sure you check back each Monday to see how each project was created.

Amy has created a lovely Scrapbooking layout inspired by the purples and the word Snuggly on the moodboard.


Jaymilee has created a lovely Art Journal spread inspired by the purples and the cup of tea in the moodboard.


Sarah was inspired by the purples also to create a gorgeous gelli print which she turned into stickers for her Memory Planner.  More photos of her Memory Planner layout will be on her blog post.


We would love to see what you create with the moodboard.


Wednesday, 27 June 2018

Amy- June embellishment Kit- "Daddys Girls"

Hey Scrapping Fun peeps,
How are we all loving the beautiful June kits? I have to say I have killed this kit well and truly I have loved it that much, and this layout finished it off for me (apart from some washi left and I think a flower).
My layout today was inspired by this gorgeous photo of my partner with his two girls (my stepdaughter and our daughter) at a wedding earlier in the year , and I just could see this kit fitting so well with documenting this picture.
I used my SIlhoutte to make the quote cut file and backed it onto some pink glitter cardstock from my stash. Then using some pieces of the pattern paper from the kit I created 2 thin layers around the left top side of the cut file. I then matched that on the right side of the photo, creating 2 thin layers with 2 seperate pieces of patterned paper from the kit as well.

I then added the 2 pastel coloured lace ribbons to under the cut file and photo, to add a delicate type border and texture to the layout. I also added some small clusters with 1 around the wood veneer word Memories that was in our June kit and using a strip of the gorgeous floral washi and the resin flower and then to the left I used the green lace flower along with some phrase stickers from my stash to add some sentiments. 

To finish up my layout I added some small embellishment touches to the page using the flairs, washi , resin and then some little pieces from in my stash just to add some delicate touches. 
I truly loved how this layout turned out , with a nice hint of vintage beauty that this months kit really helped to add. 


Thanks so much for stopping by and see you next month with some more fun scrapping projects. 
Amy xx

Monday, 25 June 2018

Connie - June Emellishment Kit!

Hello Arty Friends!!!

I am so excited to shared with you all what I have done with the June Kit!!
This kit is AMAZING! ... So many goodies.

I had already decided that I wanted to do something a little different this time, to show you how versatile this kit is!
Also I will have a little giveaway at the end!! ... SUPER  EXCITED!!!!

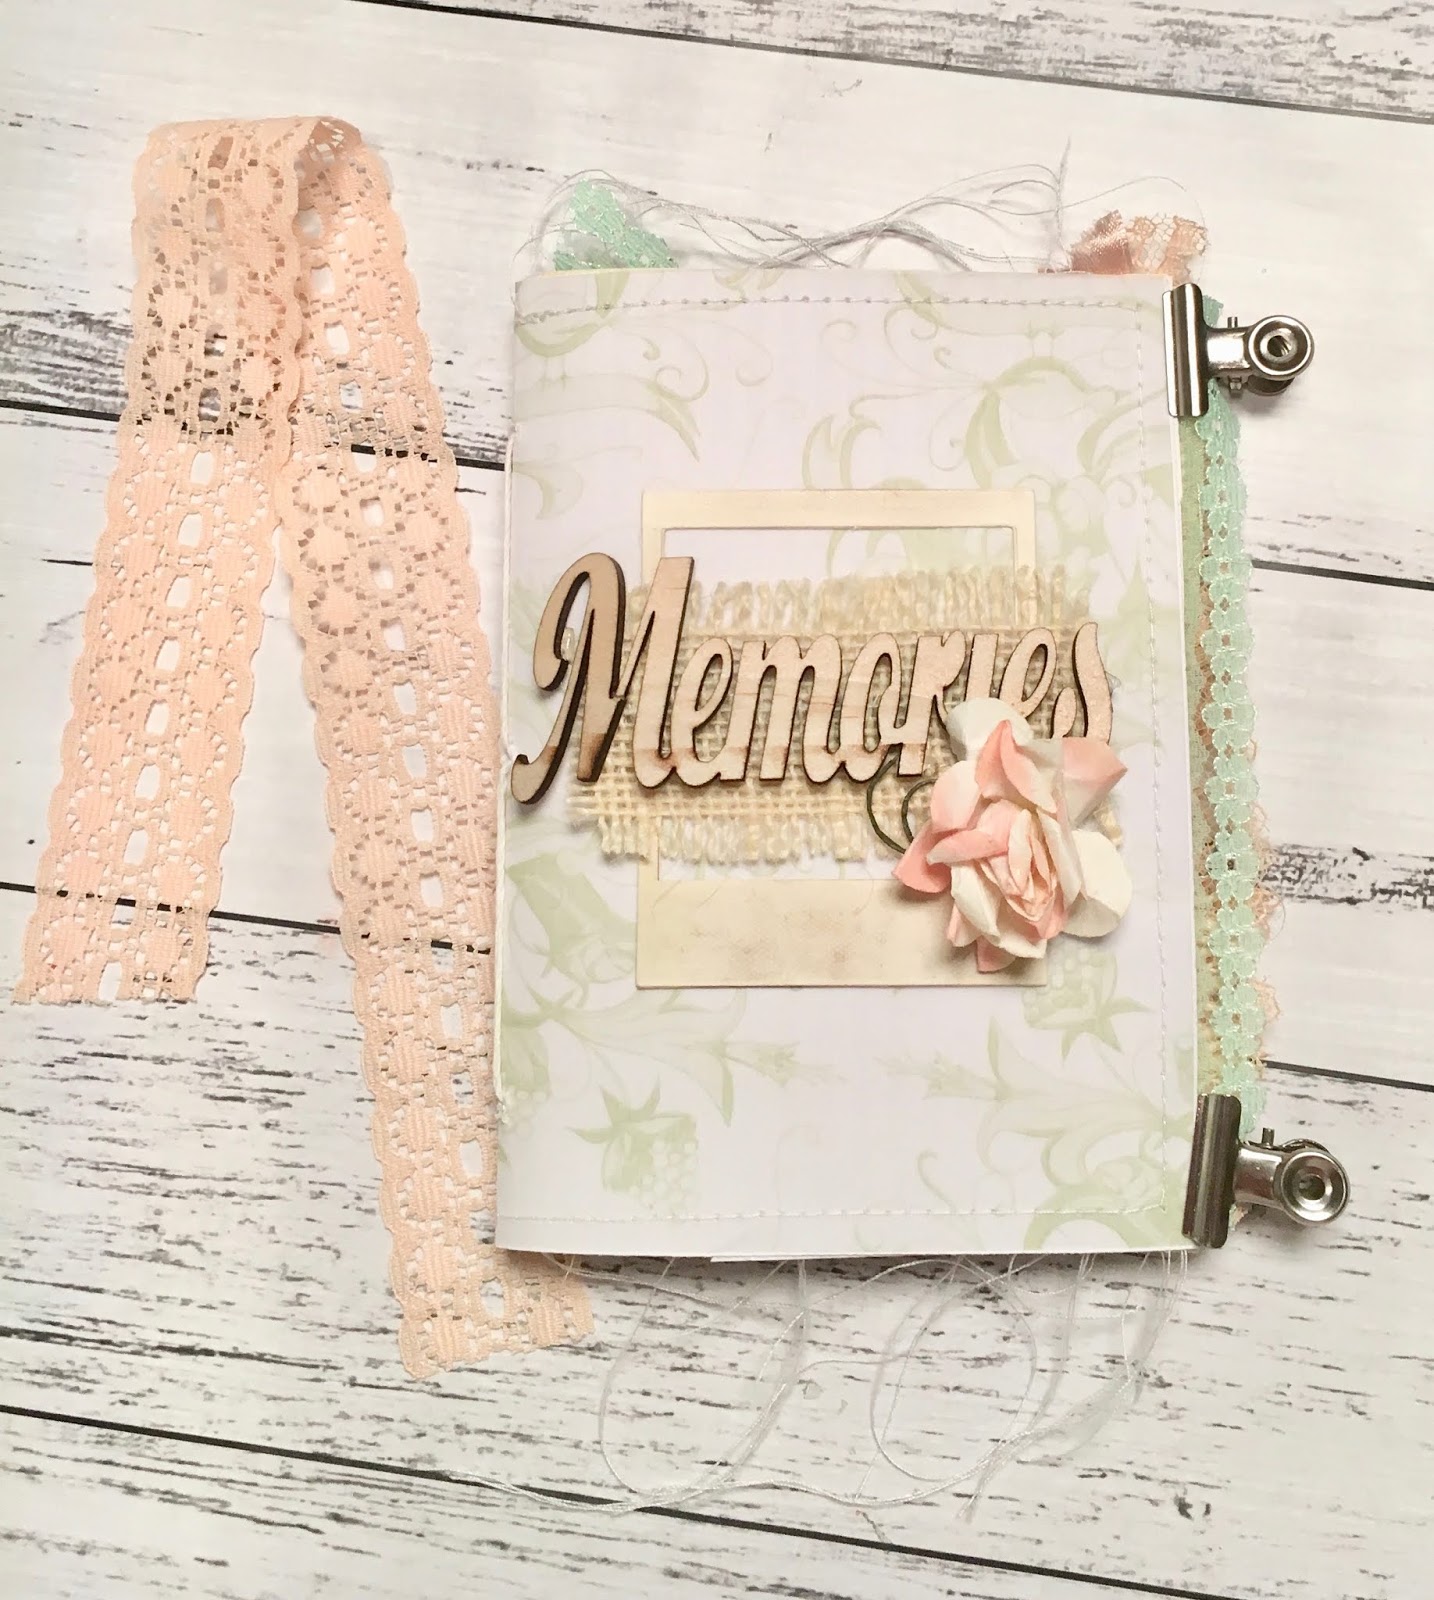
So I used the remaining supplies from the kit to make a personal Traveler's Notebook Junk Journal!
I have so much fun putting this together. I also included some dot paper, white paper, coffee dyed paper, vintage music paper and a couple of other things from my stash!

I have used the pamphlet binding to hold  it all together.


NOW!!! for the giveaway....

I will be giving away this Journal to one lucky Scrapping Fun Kits follower!
To be in the draw to own this one of a kins Journal, all you need to do is ...

*Leave a comment below
*Like Scrapping Fun Kits Facebook page & tag a crafty friend.
*Like my Facebook page & tag a crafty friend.

Entries close Saturday June 30 5pm AEST!

Thanks for stopping by!!!

Connie ...xxx


Saturday, 23 June 2018

Jaymilee - June 2018 kit - Memories

Hi lovely ladies, I’m back on the blog today sharing my second layout using the June embellishment kit. Featured in this month’s kit was a beautiful wood veneer piece. I really wanted to use this piece as the focal point of this project.


To achieve this look I used just some washi from my stash to over the top half of the word. Next I mixed together some green paint with white to create a mint green colour and simply painted over the other half of the word. I really love how it turned out and it made the wood venner really pop on the page.


I’ve used white cardstock as the base of my layout. What I’ve done is used the green and gold washi tape and put an entire strip down the right hand side of the layout. I love using washi to create backgrounds and the washi this month was just stunning. the other two strips are the vellum which was included in the kit.
Finally I just used some white tissue paper from my stash and accordion folded it and stuck it down with double sided tape. 
I have just matted the photo with one of the papers from the kit and just a doily from my stash. Also under the photo I added two strips of one of the washi’s included in the kit. For all the little embellishments around the page I used the resin flowers included in the kit as well as the pink flair from the kit and also the circle paper clip and one of the beautiful paper flowers from the kit as well. Finally I just added some tiny word stickers from my stash and some little gold hearts and some splatters of blush Heidi Swapp Colour Shine. 

I hope you enjoyed this layout and check out the other ladies on the design teams post they have done some amazing things with the kit this month.
Jaymilee


Friday, 22 June 2018

Lauren ~~ June 2018 Kit ~~ Fantastic

Hey Everyone,

This embellishment kit just speaks to me and this layout was born.

I used inspiration from the ribbons and washi to make stripes behind the photo and down the layout.

I started by painting two stripes, one in each colour - peach and mint.

Then while it dried a little I got stuck on building the paper layers behind the photo with the patterned paper I had left. I changed each layer up and even made two of the layers as banners at the bottom.


I then knew I had to adhere the photo with its patterned paper layers to the cardstock before I embellished the stripes further. So I used foam tape (as I have run out of fun foam - for some reason I continually forget to buy more at the shops) to adhere it to the painted stripes. I added some peach and mint coloured thread behind the photo as well.

I then knew it needed a ribbon layer under the bottom of the photo layers, which I made into a banner, before adding other stripes.


I used ribbons and washi to make it the way I thought it looked good design wise.

I then started two embellishment clusters, I knew I needed one below the photo to the left - this was to tie in the stripe layers below the photo. The second one I wasn't as certain at the beginning but thought needed to be on the right perhaps near the photo (and that is where it did indeed end up).


I used a flair from the kit (as well as a flair from DT bonus) and used the paper, resin and fabric flowers to build the clusters. I then dug into my stash for some extra resin flowers and thickers.  The thickers had some awesomely perfectly coloured hearts that finished the clusters.

If you want to see a process video for this layout, check it out here


See you Next time, everyone.